
Streamline your teaching business with Classta: Your all‑in‑one booking platform

Streamline your teaching business with Classta: Your all-in-one booking platform

Most instructors spend hours juggling bookings, payments, and reminders every week. That time adds up—and it pulls you away from what you love: teaching. Classta’s all-in-one booking platform handles it all for you, from scheduling classes to tracking attendance and managing clients. Start today to save time, boost attendance, and grow your business with less hassle. Learn more here.

Simplify Bookings and Payments

Imagine cutting down the hours you spend on admin tasks. With Classta, you can make this a reality. This platform offers a sleek and efficient way to handle bookings and payments, so you can focus on teaching.

Automate Your Booking Process

Tired of endless emails and double bookings? Classta’s system eliminates these headaches. With just a few clicks, your schedule is set. Students book their slots easily, saving you both time and trouble. No more juggling calendars or sending reminders. Classta handles it all, ensuring you have more time to plan engaging classes. Plus, the platform is intuitive. Even if you’re not tech-savvy, you can start managing classes effortlessly. If you’re curious about how it stacks up against other systems, check out this comparison.

Secure Payments via Stripe and PayPal

Worried about payment security? Classta integrates with trusted platforms like Stripe and PayPal. This means your earnings are processed safely and directly. No more cash hassles or payment delays. Students appreciate the convenience, and you’ll love the peace of mind. Payments are logged automatically, so you always know where you stand financially. It’s a seamless way to handle the money side of things without lifting a finger.

Enhance Client Management with Classta
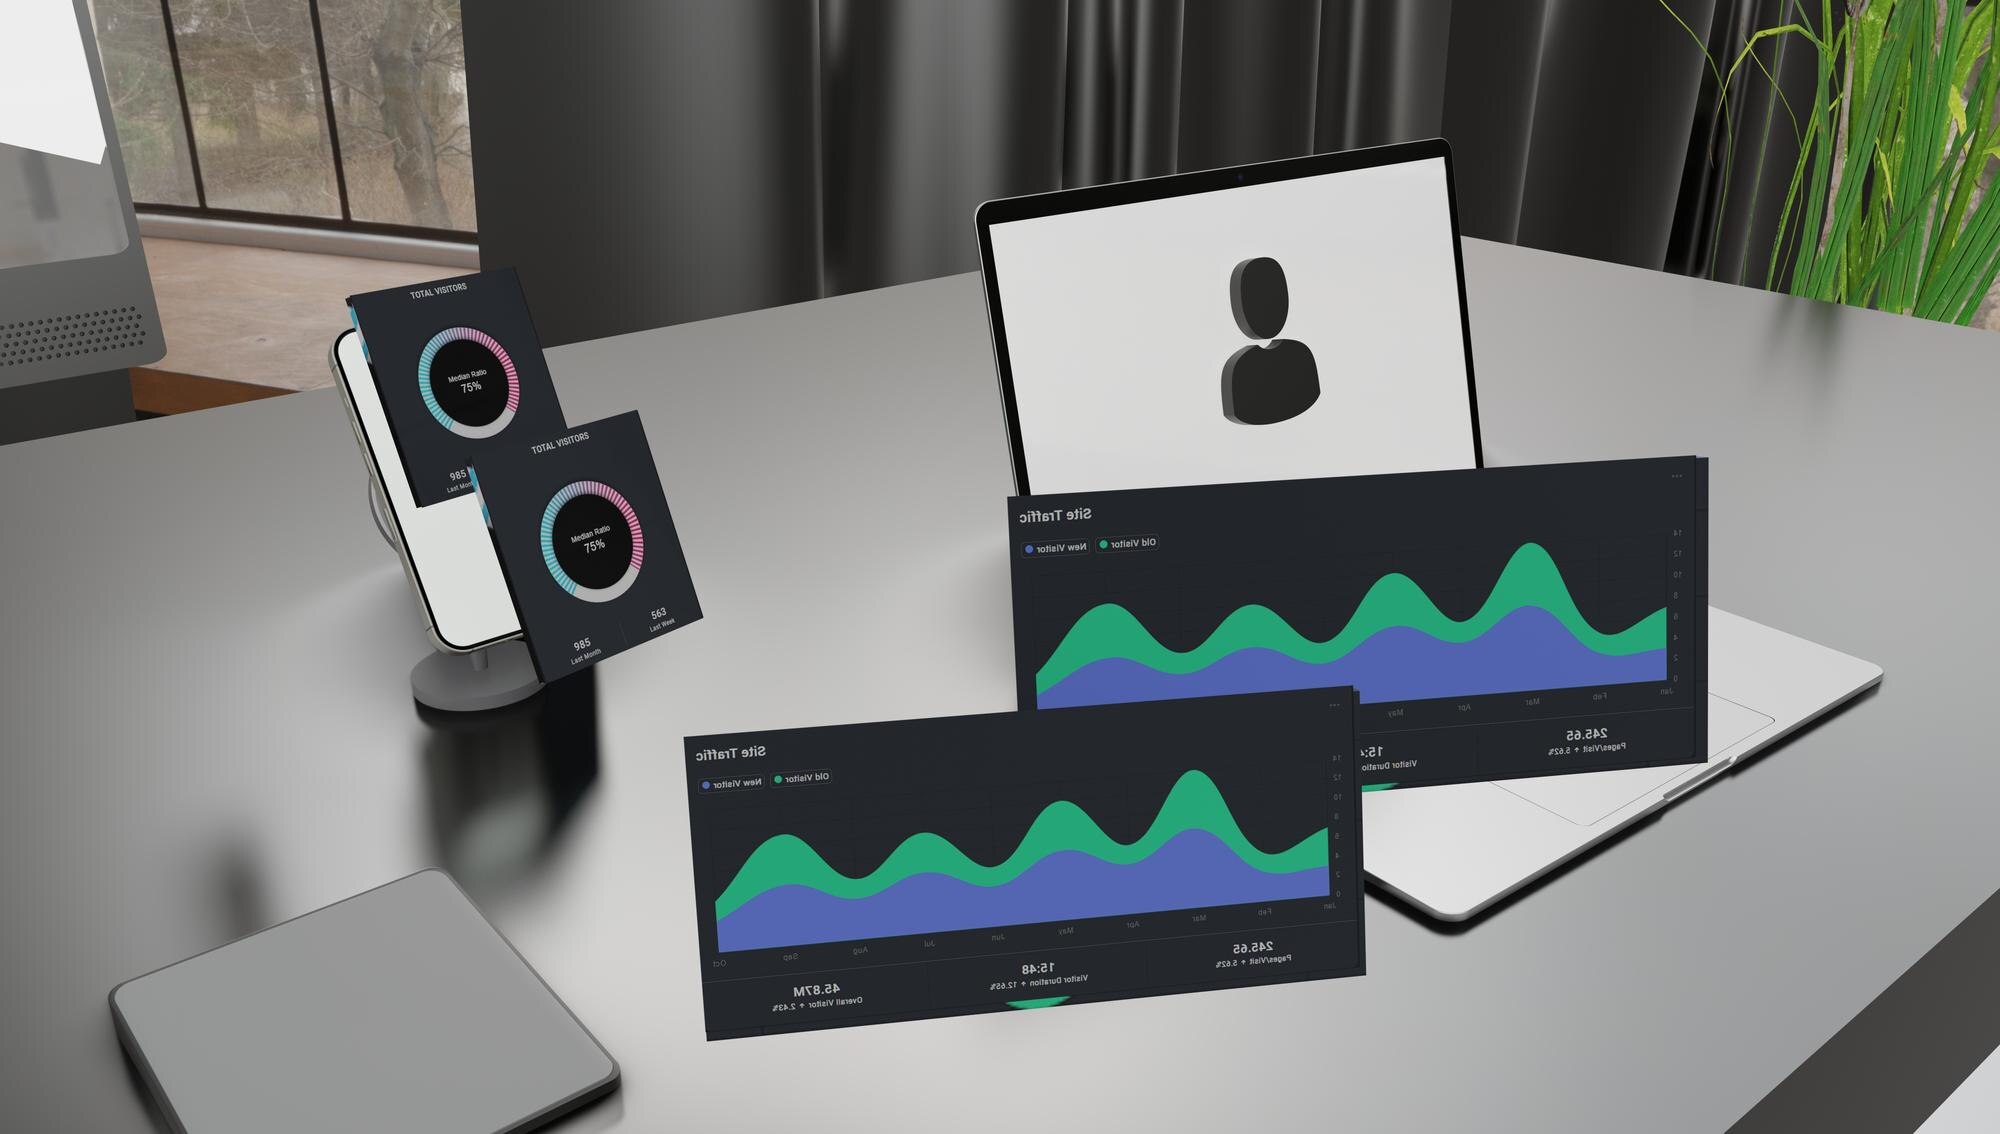
Once your bookings are simplified, managing your clients becomes a breeze. Classta offers tools that not only keep you organised but also enhance the experience for your clients.

Boost Attendance with Automated Reminders

Forgetful clients are a thing of the past. Classta sends out reminders automatically. This feature drastically reduces no-shows, ensuring your classes are full. Clients appreciate the nudge, and you enjoy a consistent schedule. It’s a win-win. Imagine your classes always buzzing with energy and engagement. The longer you wait to implement this, the more potential attendees you might miss out on.

Manage Memberships with Ease

Memberships are a fantastic way to build a loyal client base, and Classta makes managing them simple. Set up recurring payments and offer exclusive content easily. Members get special perks, and you get steady revenue. With everything in one place, tracking memberships becomes straightforward. This means less hassle for you and a more professional service for your clients. Discover more ways to manage memberships with platforms like Teachworks.

Grow with Custom Features

As your teaching business expands, Classta grows with you. It offers custom features that keep you at the forefront of your field.

Create Your Own Branded Booking Pages

Stand out with a personalised booking page. Classta allows you to integrate your branding, making your booking process an extension of your identity. Clients will feel the professionalism from their first interaction. It’s not just about aesthetics—it’s about creating a memorable experience that keeps them coming back. Most people think a generic page suffices, but a unique touch can be pivotal.

Track Performance with Real-Time Analytics

Data is powerful when you know how to use it. Classta offers real-time analytics to help you understand your booking trends. This insight allows you to adjust and refine your offerings. You can see which classes are thriving and which might need a tweak. Armed with this knowledge, you can make informed decisions that drive growth. Looking to explore more about data use in bookings? Check out Appointy’s insights.

Start your free 14-day trial today! 🚀

Instructors like you are already transforming their businesses with Classta. From automating bookings to managing payments securely, the platform is designed to support your growth. Don’t let admin tasks hold you back—embrace the future of teaching with Classta.


Step-By-Step Guide: Setting Up Automated Billing and Membership Management with Classta

Step-By-Step Guide: Setting Up Automated Billing and Membership Management with Classta

You’re juggling schedules, payments, and endless paperwork. What if you could simplify it all with a tool that manages everything? With Classta, automated billing and membership management become effortless, freeing you to focus on your passion for teaching. You’ll discover how to set up these features step-by-step, making your life easier and your classes more enjoyable. Start transforming your class management today with Classta’s automated solutions. Visit our website and sign up for a free trial! For more insights into automating billing, check out this guide for businesses. ## Getting Started with Classta

Creating Your Account

Setting up your Classta account is straightforward, allowing you to dive into managing your classes with ease. Here’s how:

  1. Visit the Website: Go to the Classta homepage and click on the “Sign Up” button.

  2. Enter Details: Fill in your personal information, such as name and email address. Choose a strong password to secure your account.

  3. Verify Email: Check your inbox for a verification email from Classta. Click the link provided to confirm your account.

  4. Initial Setup: Once verified, you’ll be guided through an initial setup to tailor Classta to your needs.

Remember, creating your account is the first step towards efficient class management. By setting up your account correctly, you’re paving the way for a smoother experience with automated billing and membership management.

Setting Up Your Profile

Your Classta profile represents you to potential students, so it’s important to set it up thoughtfully.

  1. Personal Information: Update your profile with your professional details. Include qualifications, experience, and a friendly profile picture.

  2. Class Details: Add information about the classes you offer. Specify the type of classes, duration, and any prerequisites.

  3. Contact Information: Ensure your contact details are up to date so students can reach you easily.

  4. Social Media Links: If applicable, link your social media accounts for wider reach and engagement.

Setting up a comprehensive profile not only attracts more students but also builds trust and credibility. A well-crafted profile serves as a powerful tool to showcase your skills and offerings.

Implementing Automated Billing

Navigating the Billing Dashboard

The billing dashboard is your command centre for managing finances efficiently. To get started:

  1. Access the Dashboard: Log into your Classta account and navigate to the billing section from the main menu.

  2. Overview: Here, you’ll find an overview of your current billing status, including recent transactions and pending payments.

  3. Settings: Adjust your billing preferences, such as currency and payment methods accepted.

  4. Reporting Tools: Utilise the tools available to generate financial reports and track income over time.

Navigating the billing dashboard is crucial for maintaining a clear picture of your financial health. By understanding how to manage it effectively, you can ensure timely payments and financial stability.

Customising Payment Plans

Tailoring payment plans to suit different student needs can enhance your class management. Here’s how you can customise them:

  1. Create Plans: In the billing dashboard, select “Create New Payment Plan” and define the terms, such as pricing and payment frequency.

  2. Flexible Options: Offer various options, like monthly or quarterly payments, to accommodate different budgets.

  3. Discounts and Promotions: Incorporate special offers to attract more students, such as discounts for early sign-ups.

  4. Automate Reminders: Set up automated reminders for upcoming payments to ensure promptness.

By customising your payment plans, you cater to diverse student needs, making your classes more accessible and attractive. Flexible options can lead to increased enrolment and satisfaction.

Managing Memberships Effortlessly

Setting Membership Levels

Membership levels allow you to offer tailored experiences to different student groups. To set them up:

  1. Define Levels: Identify the different levels of membership you want to offer, such as bronze, silver, and gold.

  2. Benefits and Pricing: Specify the benefits associated with each level and set corresponding prices.

  3. Enrolment Process: Simplify the joining process by providing clear instructions and necessary forms.

  4. Upgrade Options: Allow members to upgrade their membership levels easily to encourage continued engagement.

Establishing membership levels enables you to differentiate your offerings and provide added value. It can lead to increased loyalty and retention.

Tracking Member Activity

Monitoring member activity is vital for maintaining high engagement levels and optimising your classes.

  1. Activity Logs: Use Classta’s tools to track attendance and class participation.

  2. Feedback Channels: Encourage members to provide feedback after classes to improve future sessions.

  3. Engagement Metrics: Analyse data on member interactions to identify trends and areas for improvement.

  4. Reward Active Members: Implement a reward system to recognise and incentivise active participation.

Tracking activity helps in adapting your offerings to meet student expectations. It ensures that your classes remain relevant and engaging, fostering a vibrant learning environment.

🌟 Sign up today for a 30-day free trial and simplify your life! 😊